

PAYMENT METHODS


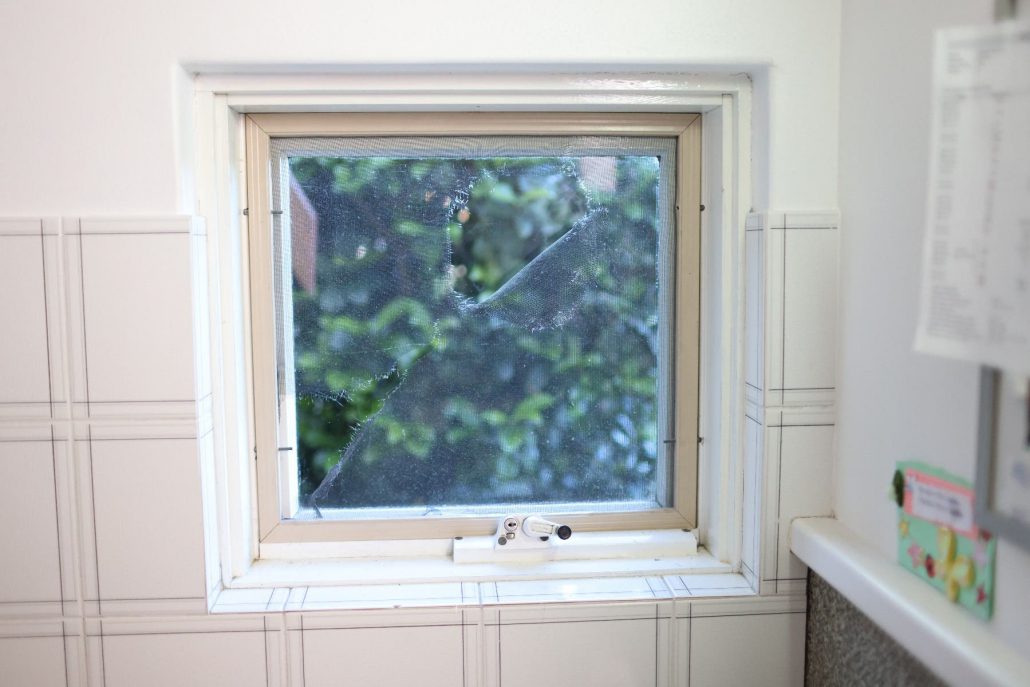
When it’s so easy to make or fix your flyscreen, you shouldn’t have to settle for an old one full of holes. There are only four steps to this DIY job, so it can comfortably be done in a weekend afternoon.
And it’s not all that hard when you get the right gear from your local Mighty Helpful Mitre 10.
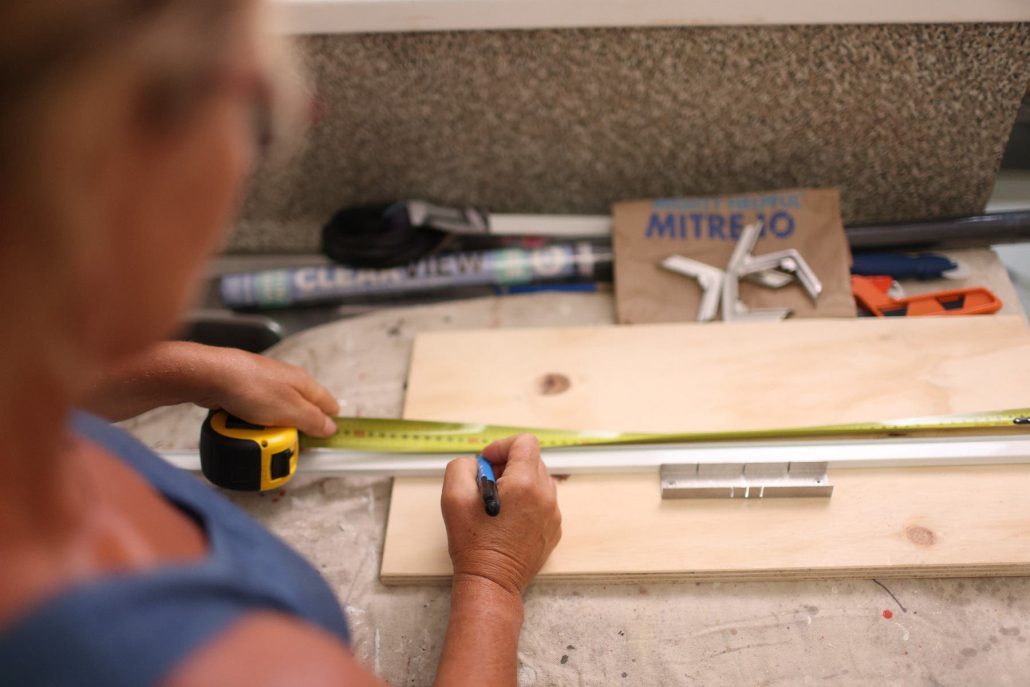
Materials listStep 1: Measure your window
Using a tape measure, measure the length and height of your window, ensuring your measurements are for the precise location your flyscreen will occupy.
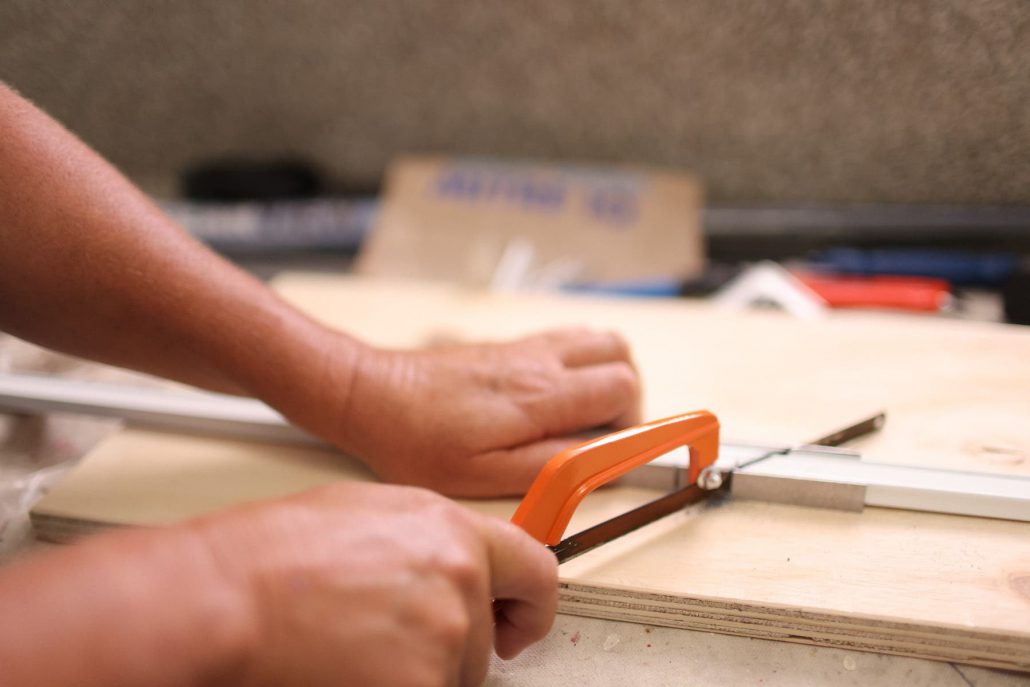
Step 2: Cut aluminium frame to size
Using a hacksaw with a fine-tooth blade and mitre box to cut the corners on a 45-degree angle, cut your frame to the correct size and assemble it using the corner stakes to keep everything in place.
Step 3: Fit and trim the mesh
Once your frame’s assembled it’s time to start fitting the mesh. Unroll the mesh over the frame allowing for at least 5–7cm of extra mesh on each side so you can stretch it comfortably. Starting in the middle of one side, fit the spline into the flyscreen frame, and over the mesh, using a spline roller. Once you reach the corner, complete the second half of the first side, starting from the middle again. This will help you keep tension and prevent the middle section of mesh from going slack. Repeat on all sides and trim the surplus mesh with a stanley knife. If you have a large window, you may need to use more than one sheet of mesh.
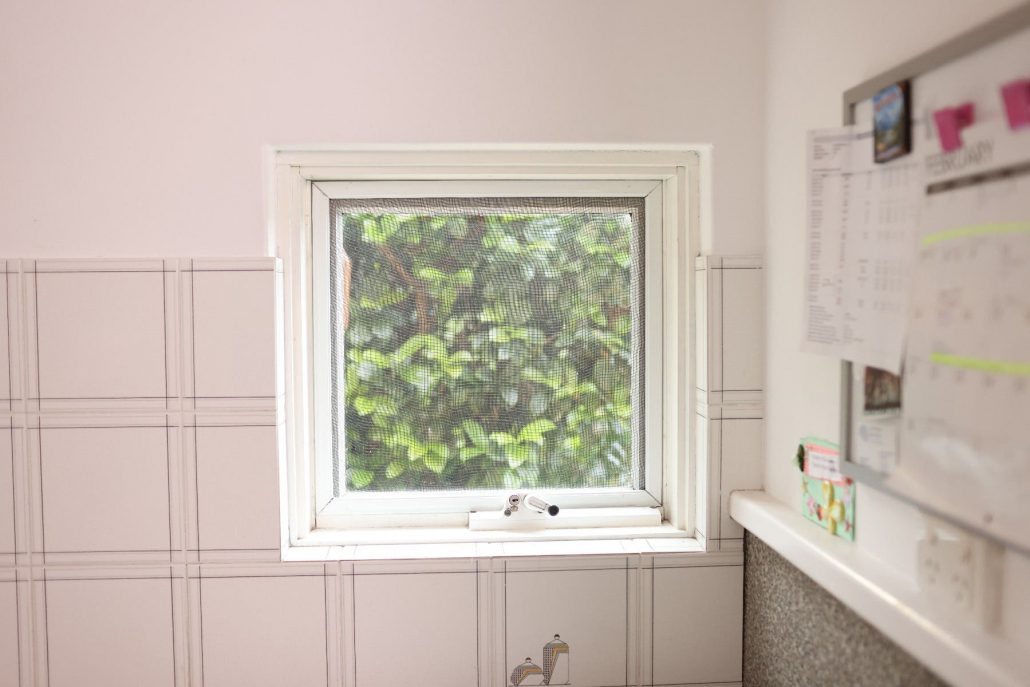
Step 4: Fit your flyscreen
If you don’t have a window with special inset frames for a flyscreen, you will need to secure your screen with clips. This will ensure it won’t blow away or fall out.
For more Mighty Helpful service and advice, speak to the team at your local Mighty Helpful Mitre 10.
 Create a container water feature in 5 simple steps Scroll to top